How to Break Down Visuals
Breaking down the visuals is the process of taking your footage, removing what is bad or unusable, and sorting the rest into categories. The purpose of breaking down visuals is to:
Organize the footage
Build familiarity
Remove bad footage
Save time
Working with organized footage allows you to pull up shots as soon as you think of them (or a producer/client watching over your shoulder does). If your footage isn’t organized, it’s going to be in big chunks which wastes time to sift through and ruins your workflow. The process of breaking down footage is always a means to watch all of your footage, in doing that you’ll become intimately familiar with what is available to you. Of course removing bad footage means you don’t waste time on shots you’re never going to use for one reason or another.
Breaking down footage should be one of the first steps in trailer making. It’s also the last step before you have to make the difficult creative decisions, and the only step in the process where I can listen to music and podcasts while I'm doing it :P Every project has unique categories, but there are six core categories I generally use for all the time..
Establishing Shots

Wide shots of locations, or anything that sets the scene. Very often these are the first shot in the trailer, with a low "boom" underneath it. It's definitely a cliché way to start a trailer, but it works because a lot of the time it makes sense to start wide and gradually move into the details. They're also good for scene transitions or when a location is referred to in dialogue.
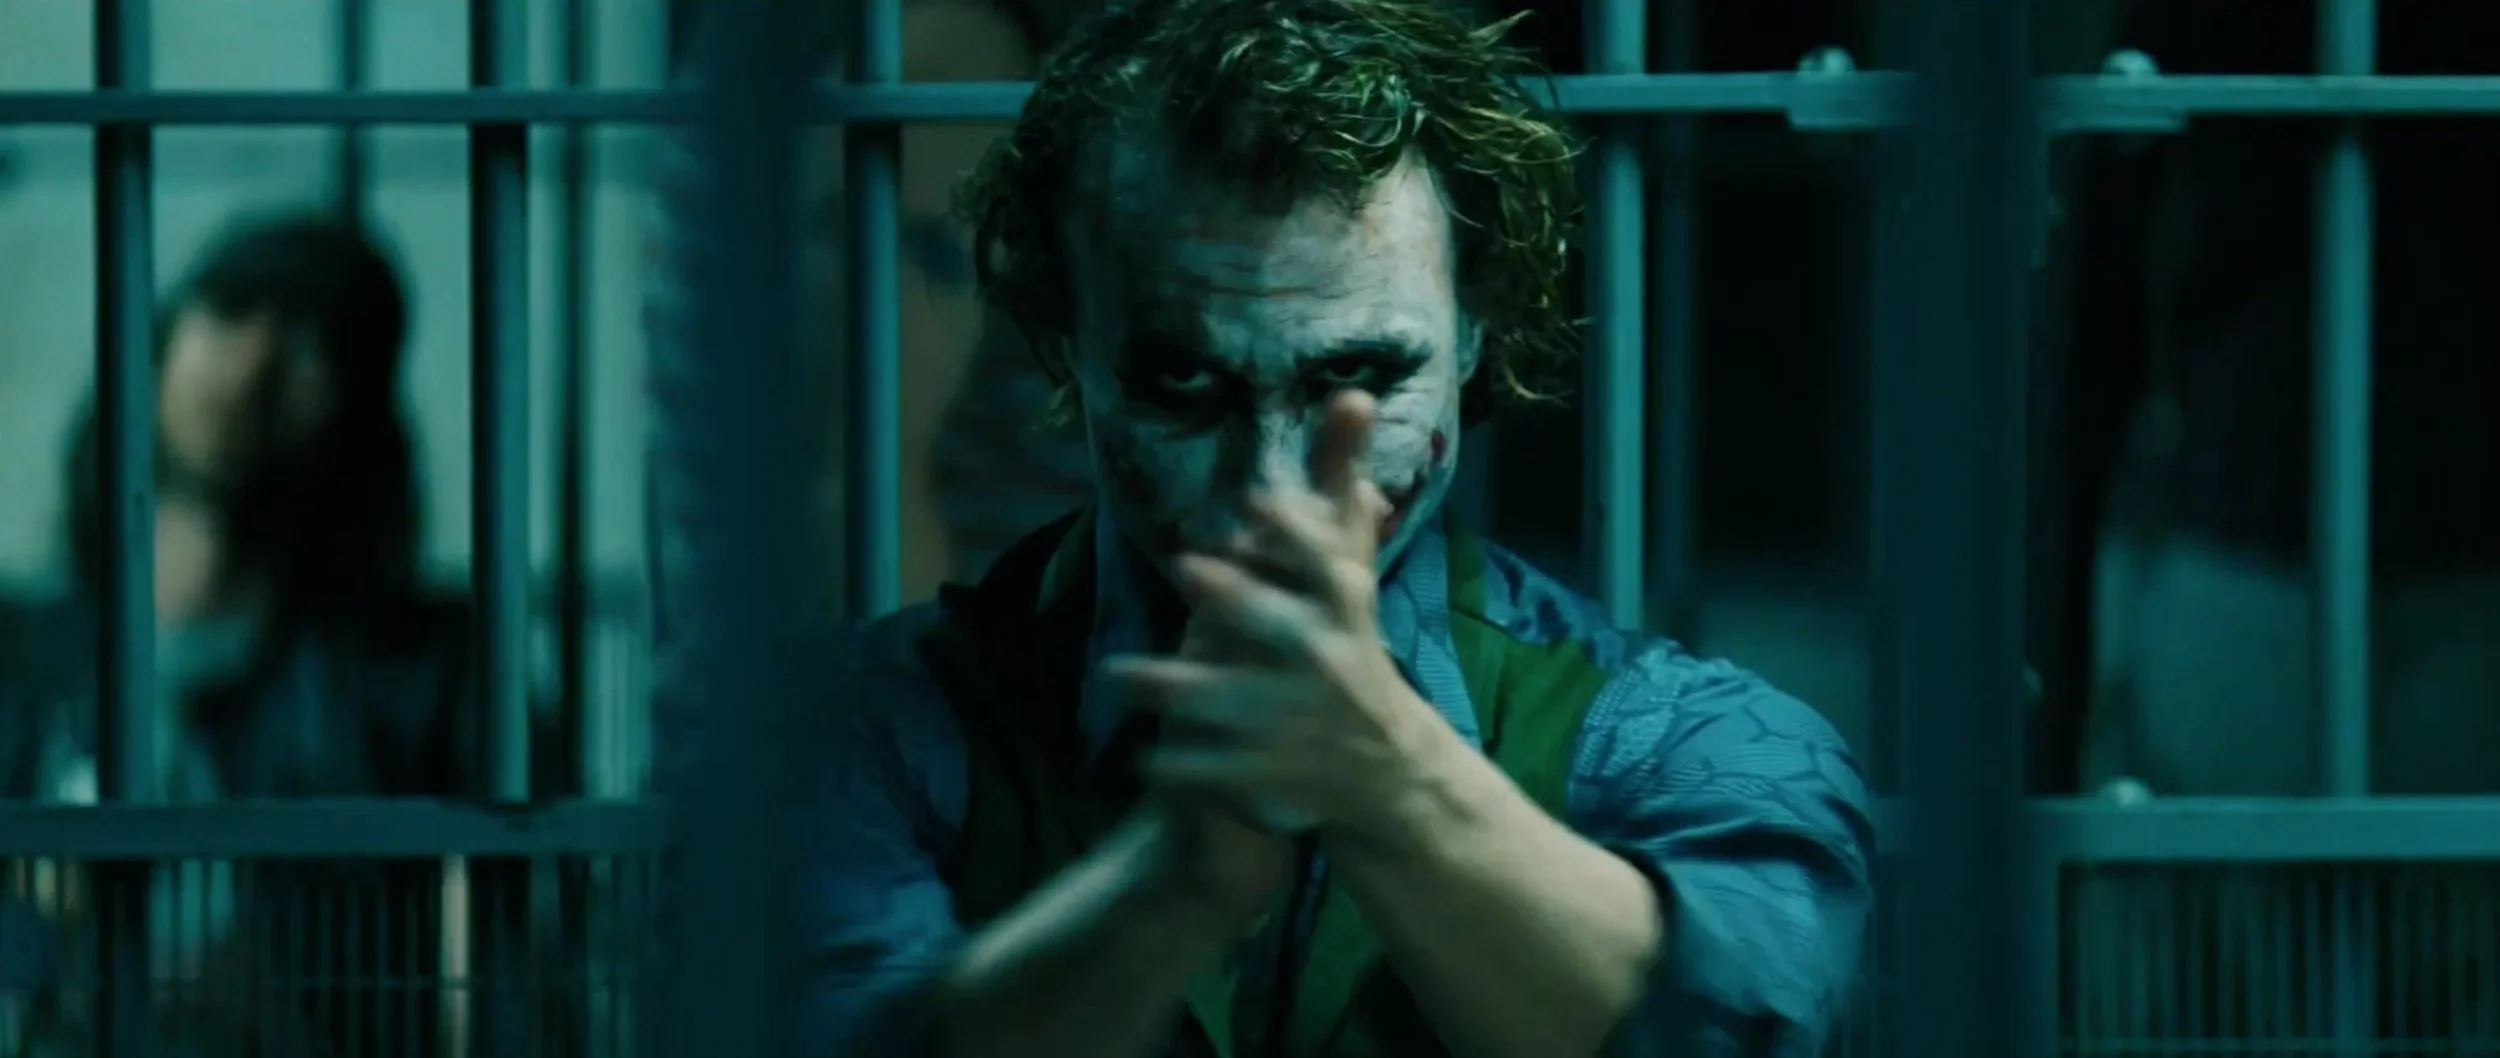
Characters
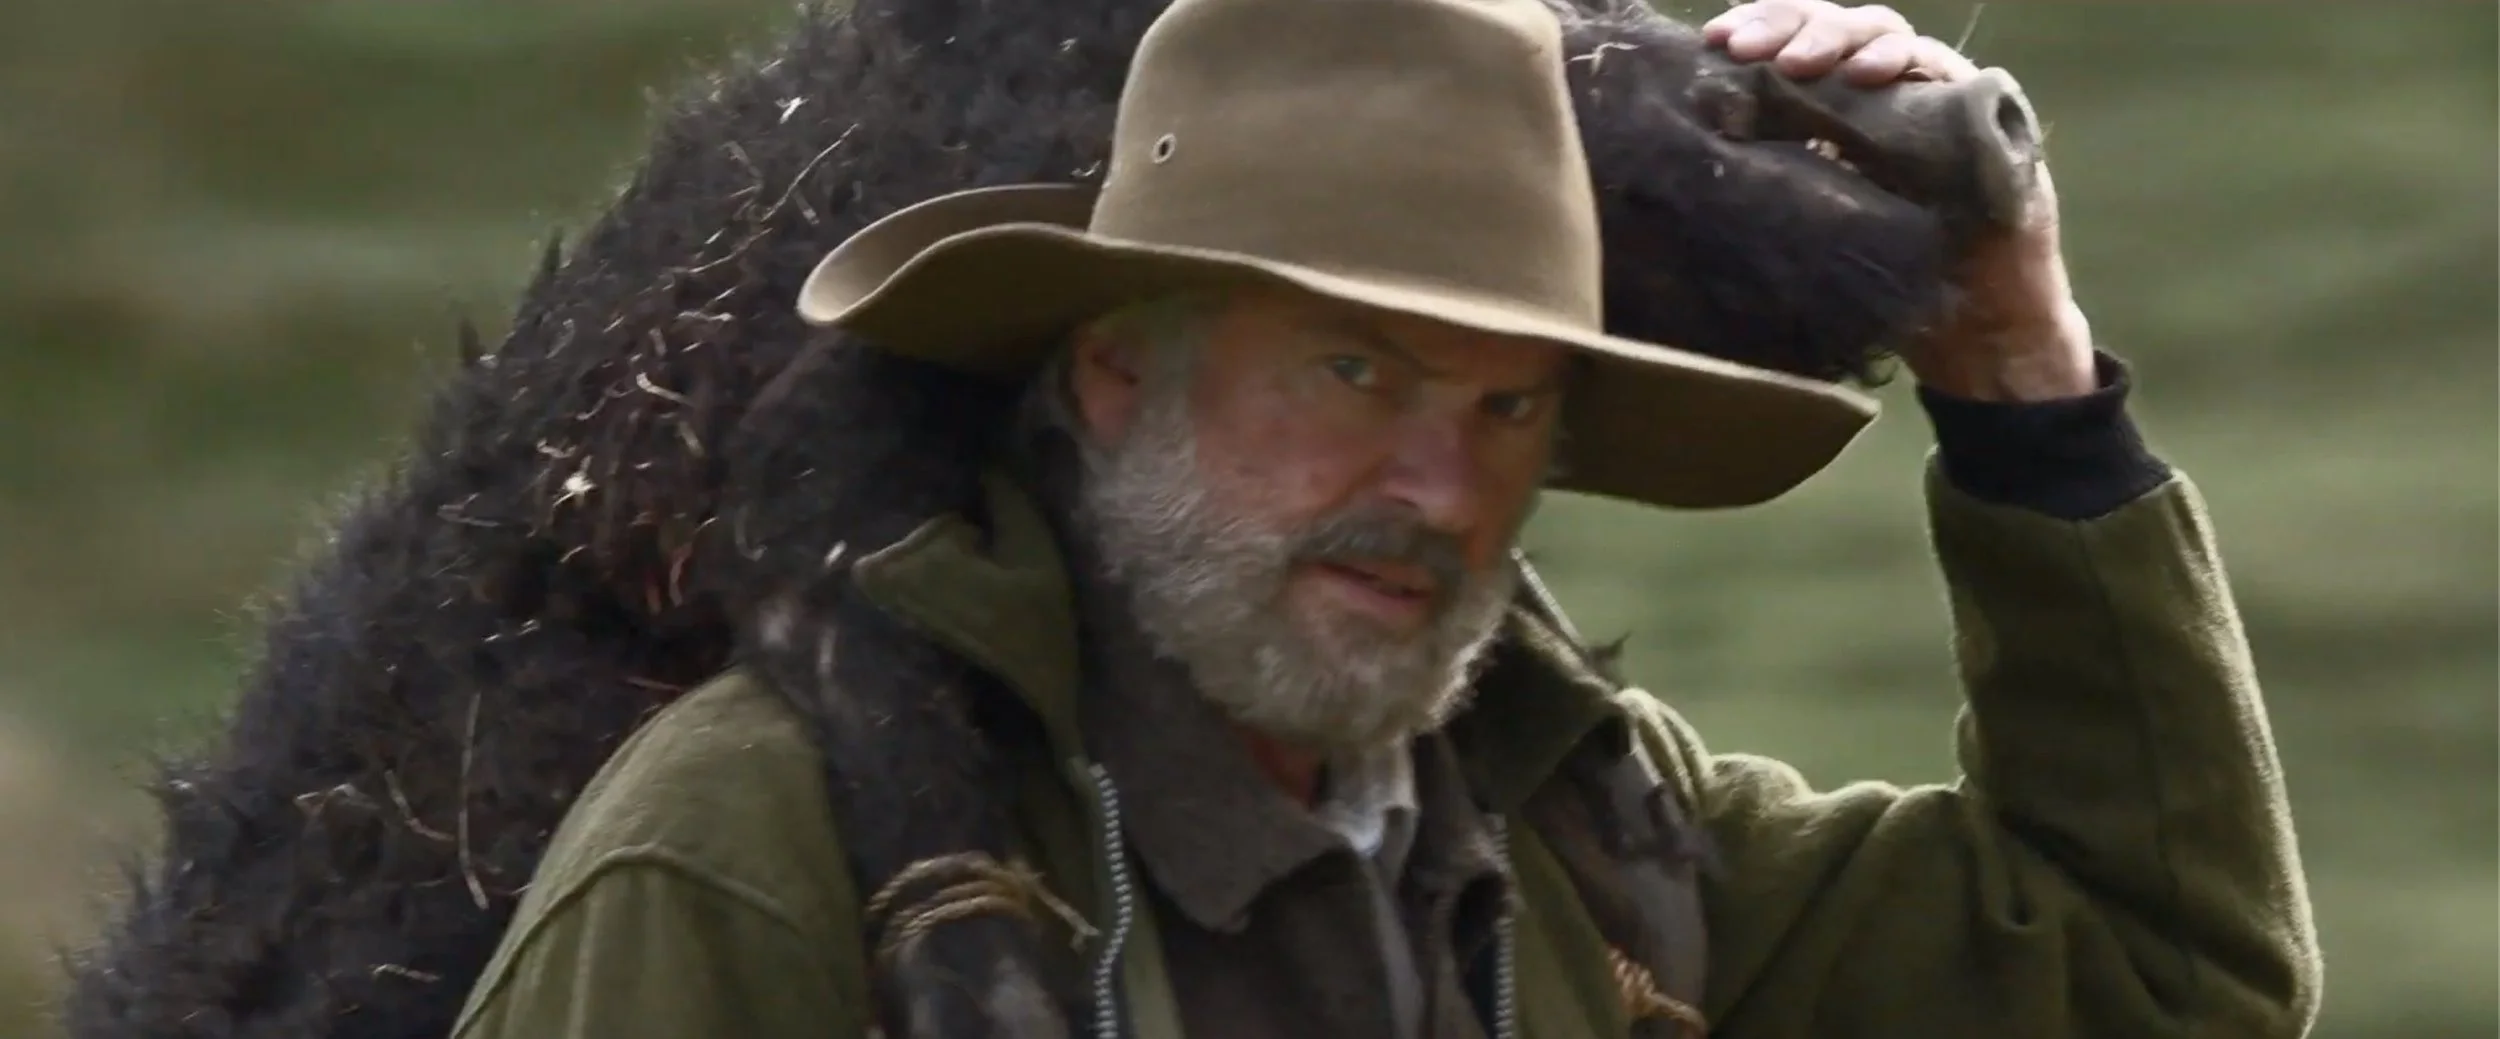
These are shots of the characters when they're not talking. You're almost never going to want to show the characters' lips moving if you're not hearing the dialogue, so there's no sense in selecting them. Think about when trailers do a series of cast member title cards; those are the shots that fit into this category.
This also includes reaction shots which are frequently manipulated for dramatic or comedic effect. Continuity isn't very important in trailer storytelling; reaction shots are often from entirely different scenes than what they're supposedly reacting to.
It can also just be shots of the characters looking cool. Any shot of a character when they're not talking is fair game.
Story

These are narratively dense shots which usually show an action that tell a story unto themselves. For example, a person hugging another, someone throwing their badge in the garbage, someone turning a picture frame down on its face. If you've ever played the game Virginia, nearly all the shots in that game fit into this category because there was no dialogue to fall back on.
Money Shots
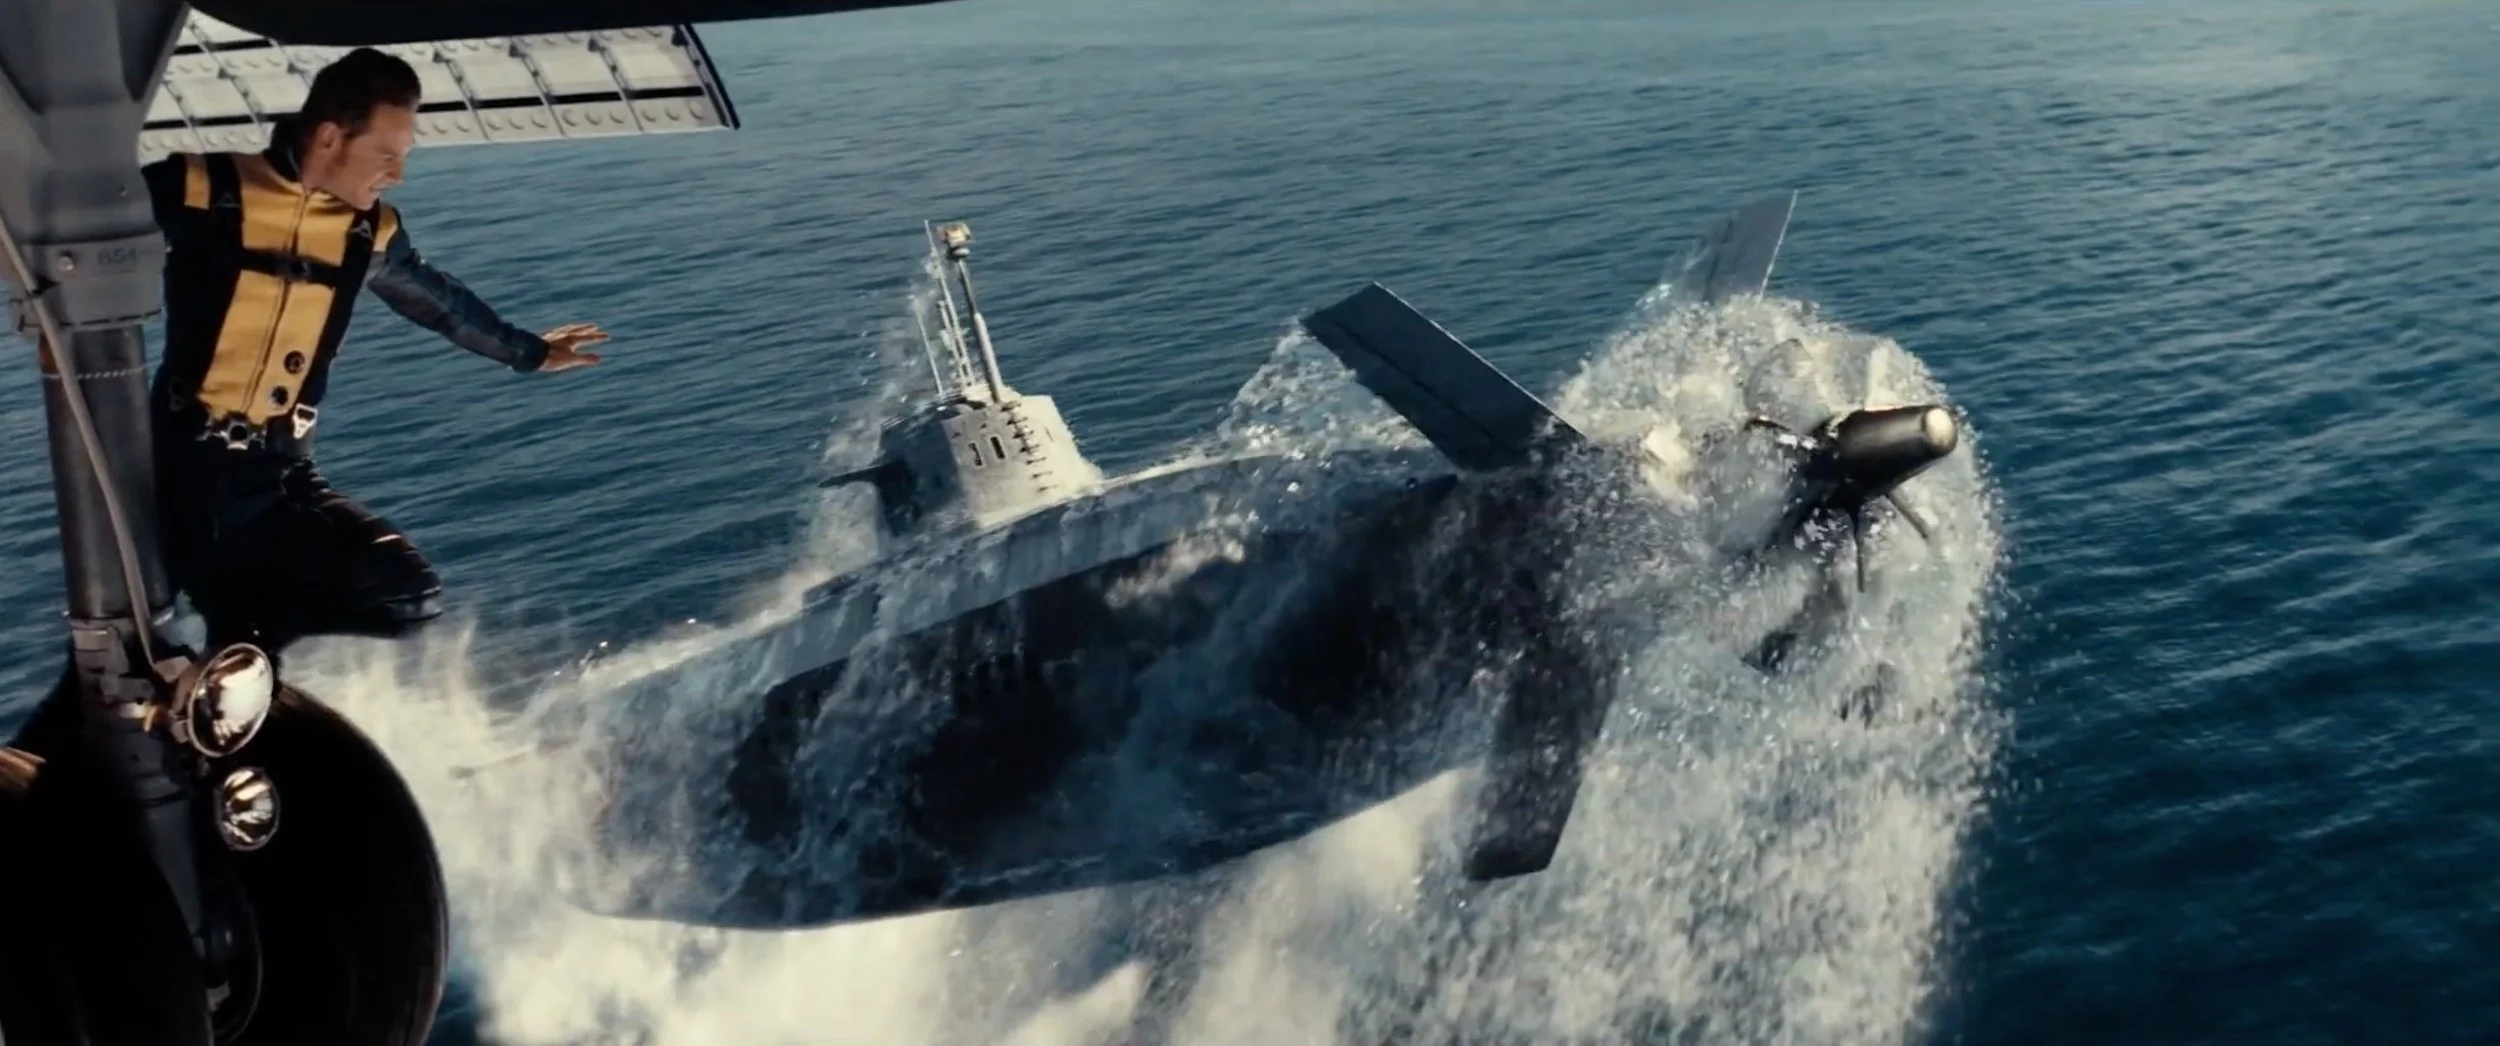
The most epic shots, the ones that you know you absolutely want to be in the trailer. The shots that people get in arms about because they're clearly from the climax of the film or game being spoiled before your very eyes. In fact, you're so sure you're going to put it in, you might as well put it in the main timeline now.
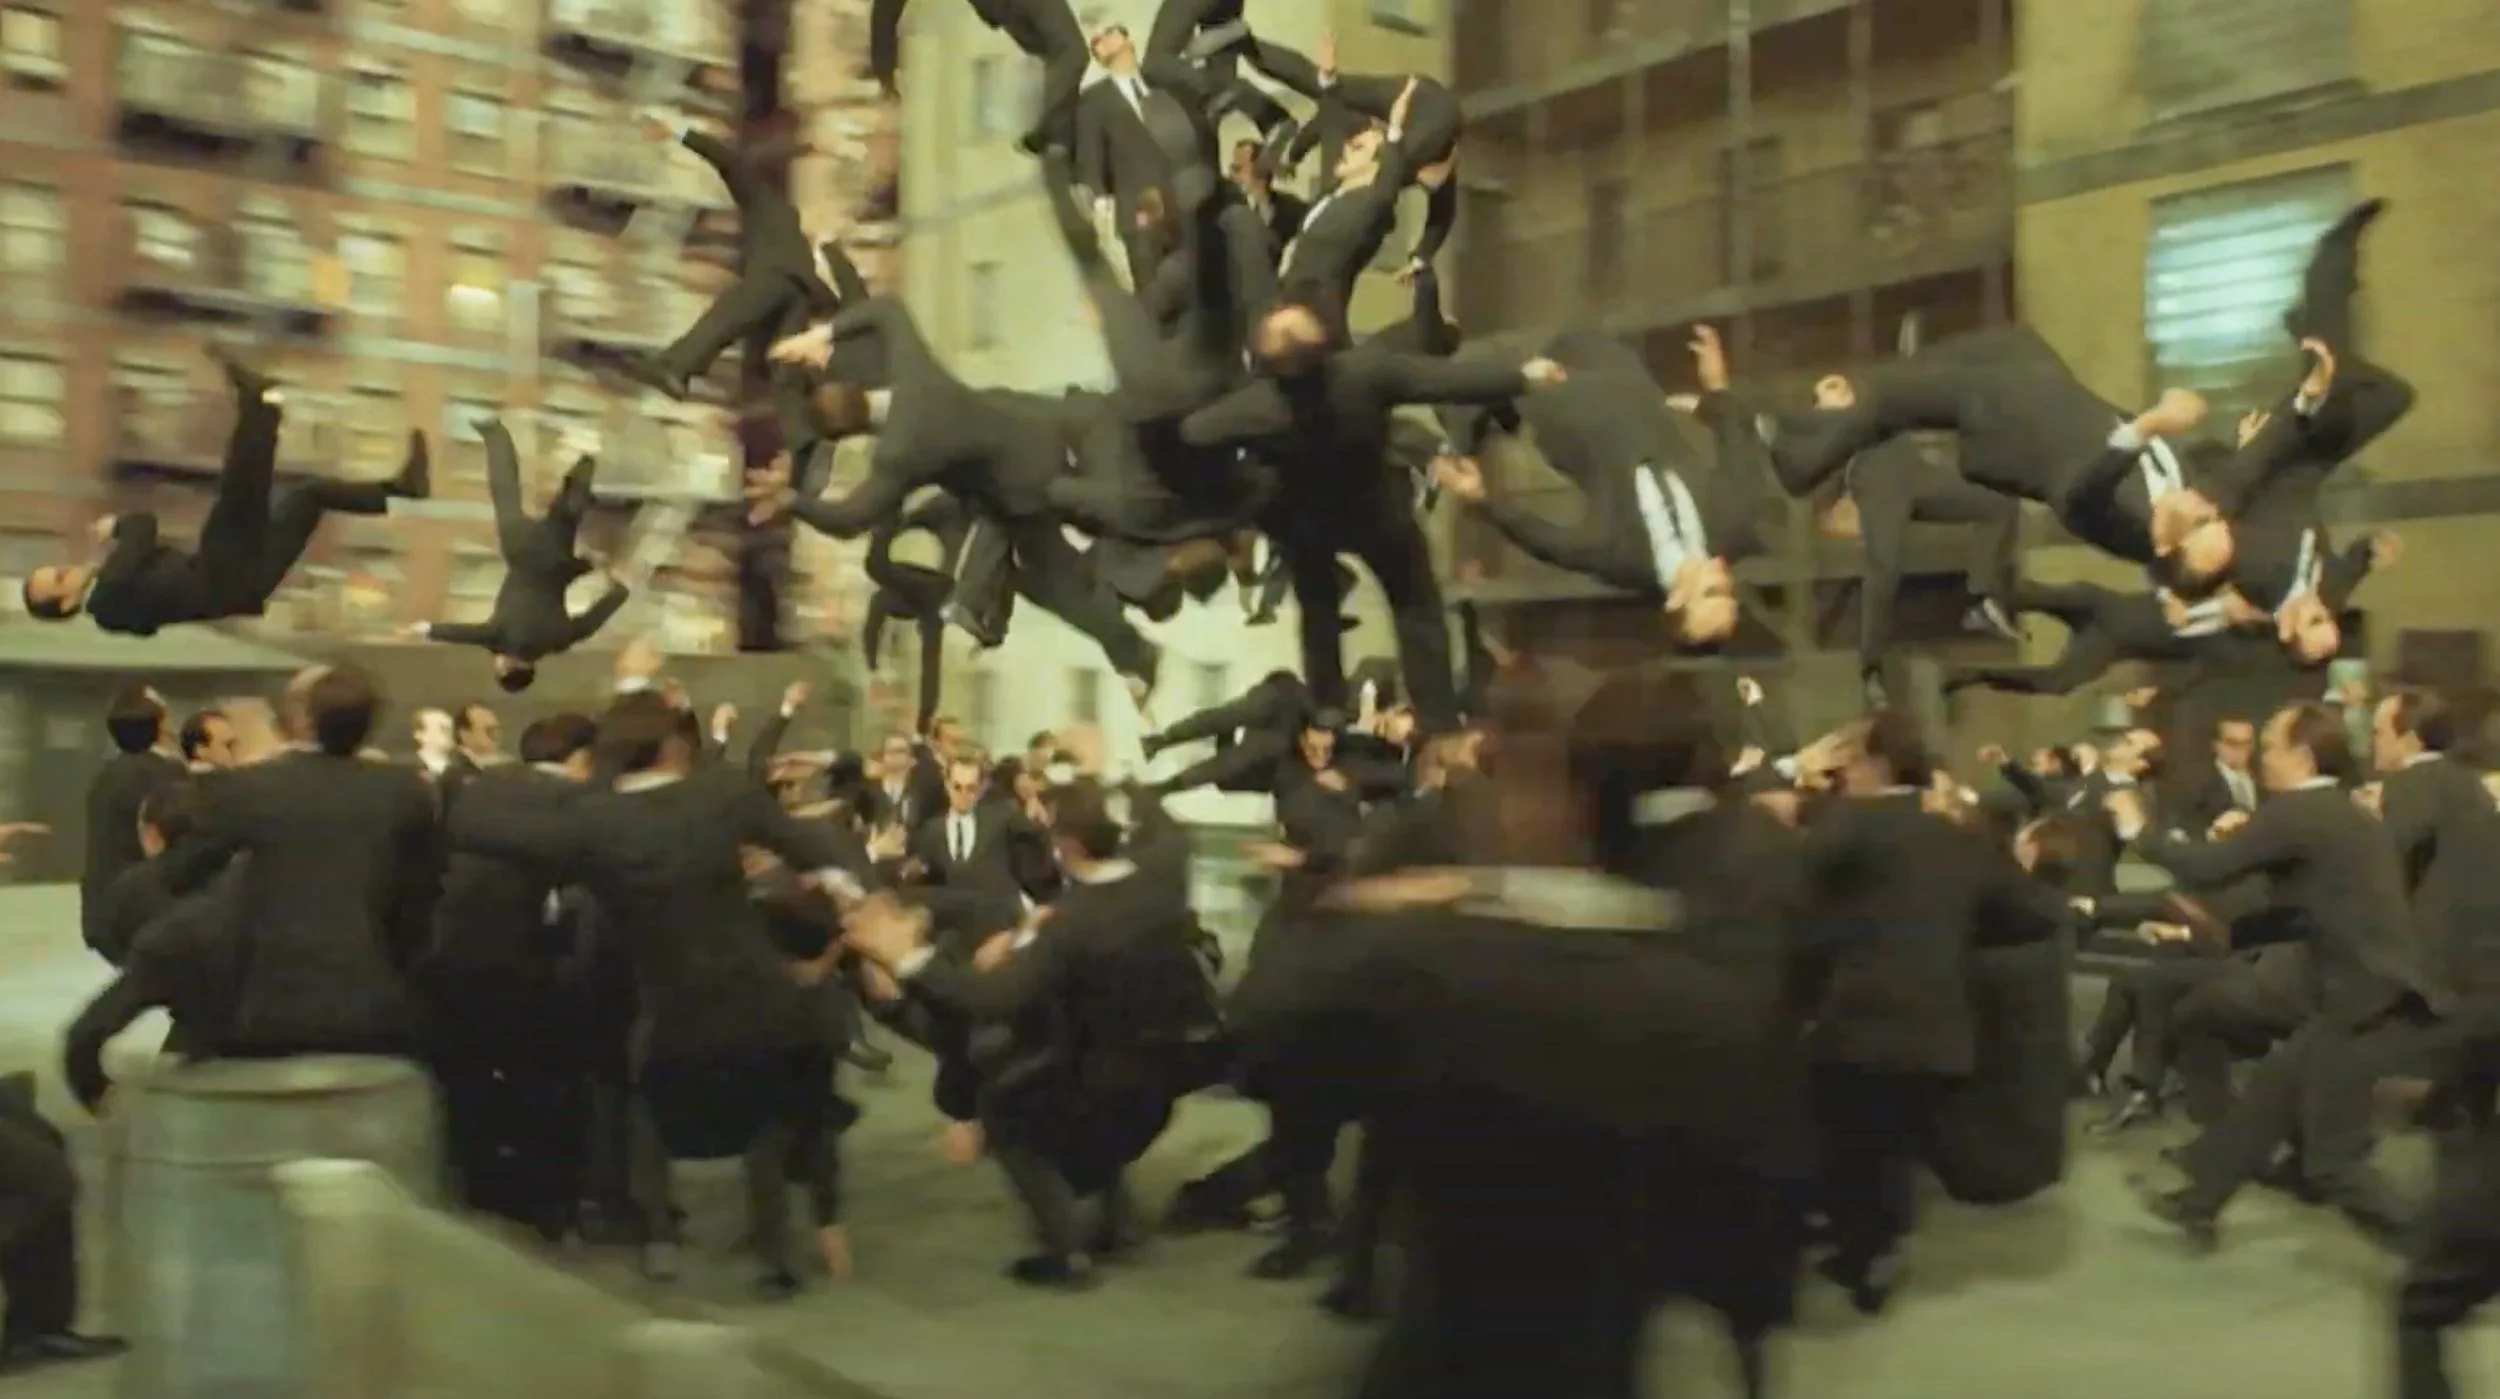
Action
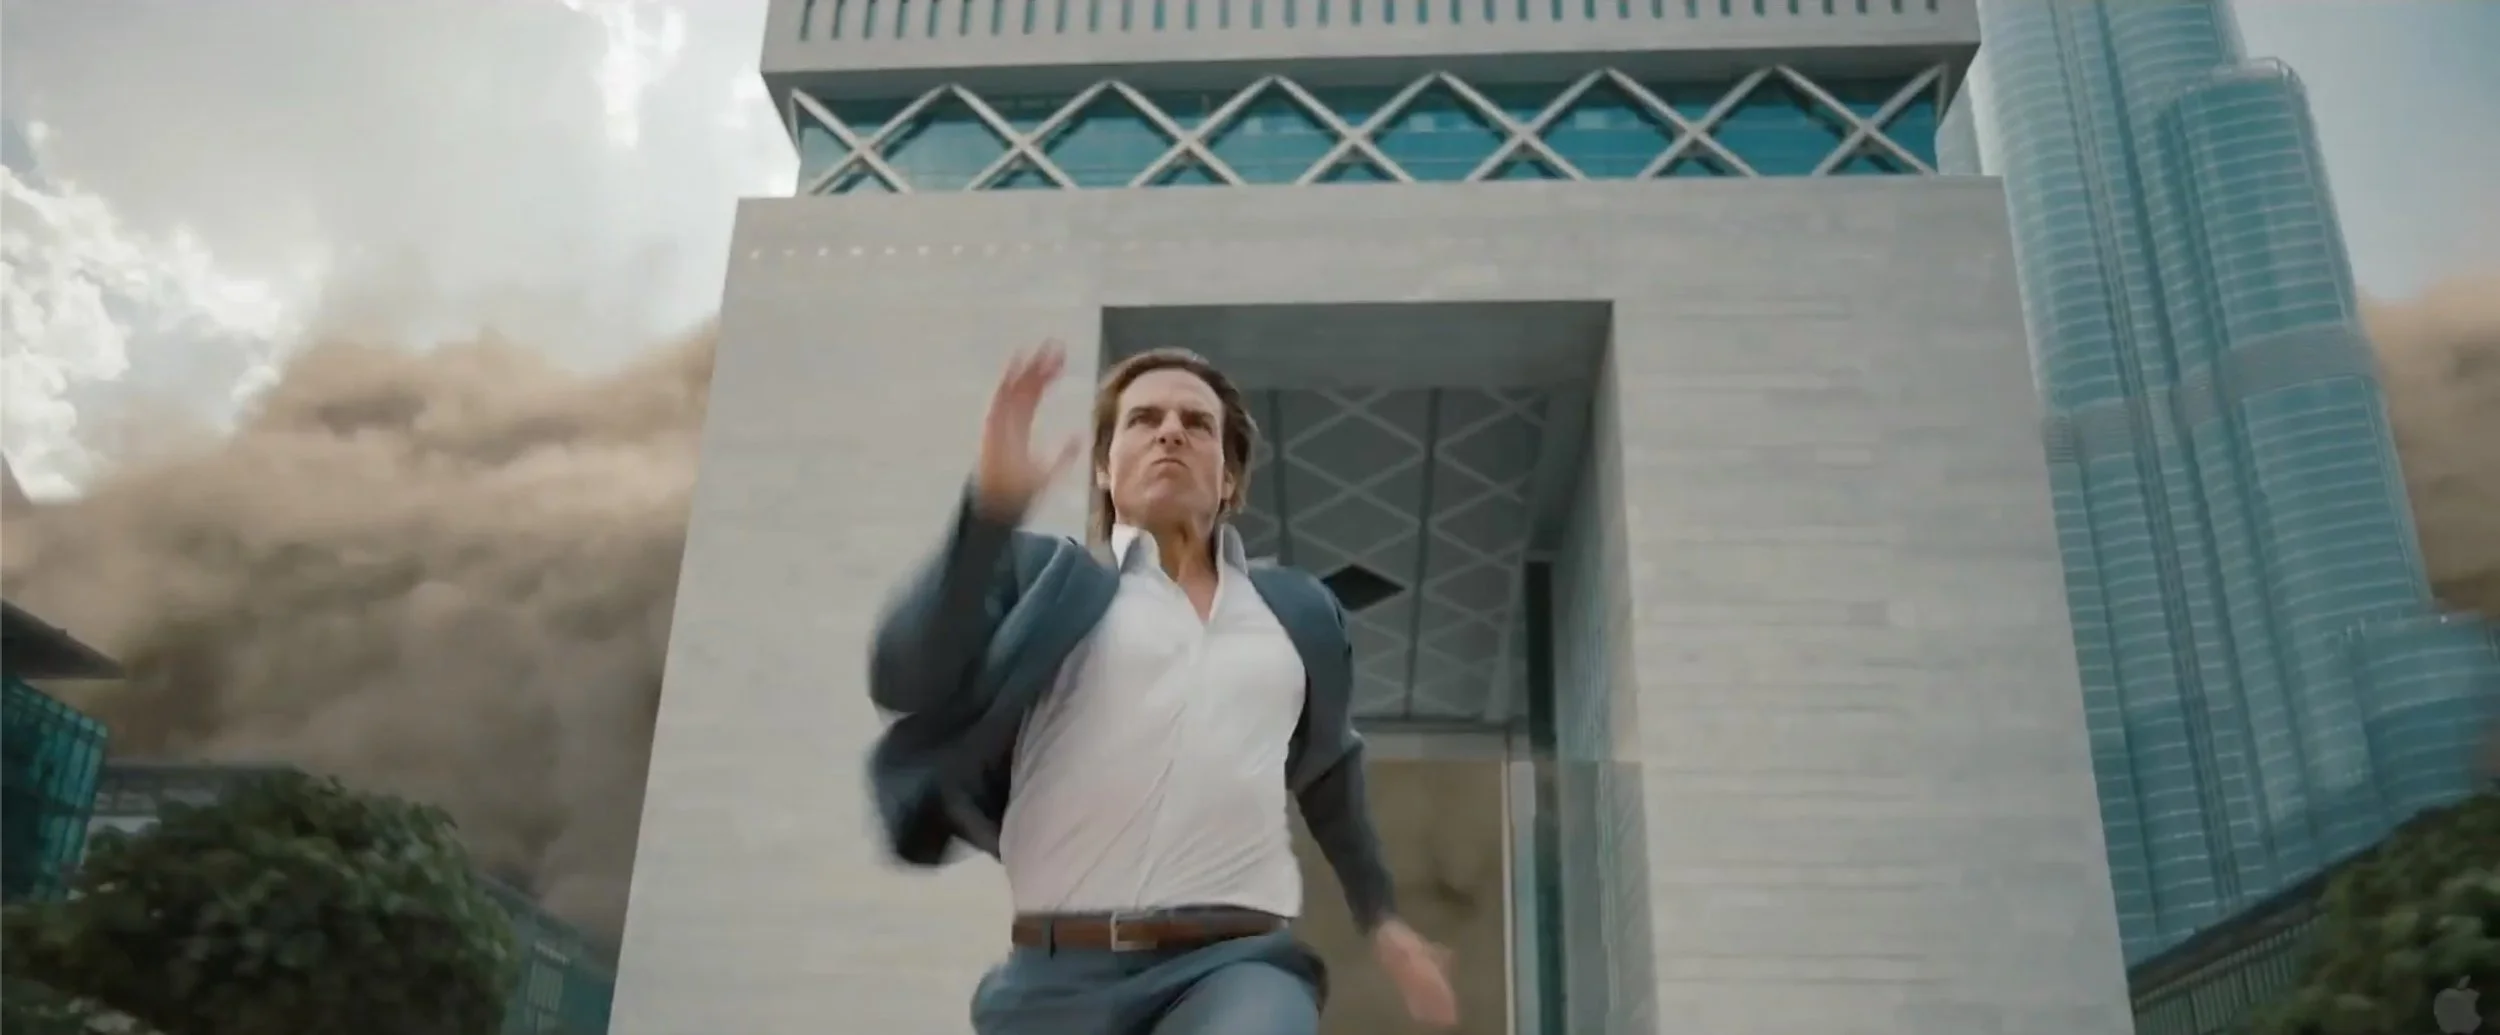
This is a very broad category that sometimes gets split into sub categories depending on the film or game. For example, an action film might have a ton of gun related shots or driving shots. I usually put any sort of violence into this category too. For movies or games with a lot of hand-to-hand combat, I make a category for fight scenes. In general, I put any shot that's at least as exciting as a person running in this category.
Another way to think about this category is put in shots that have movement (whether the camera or actor).
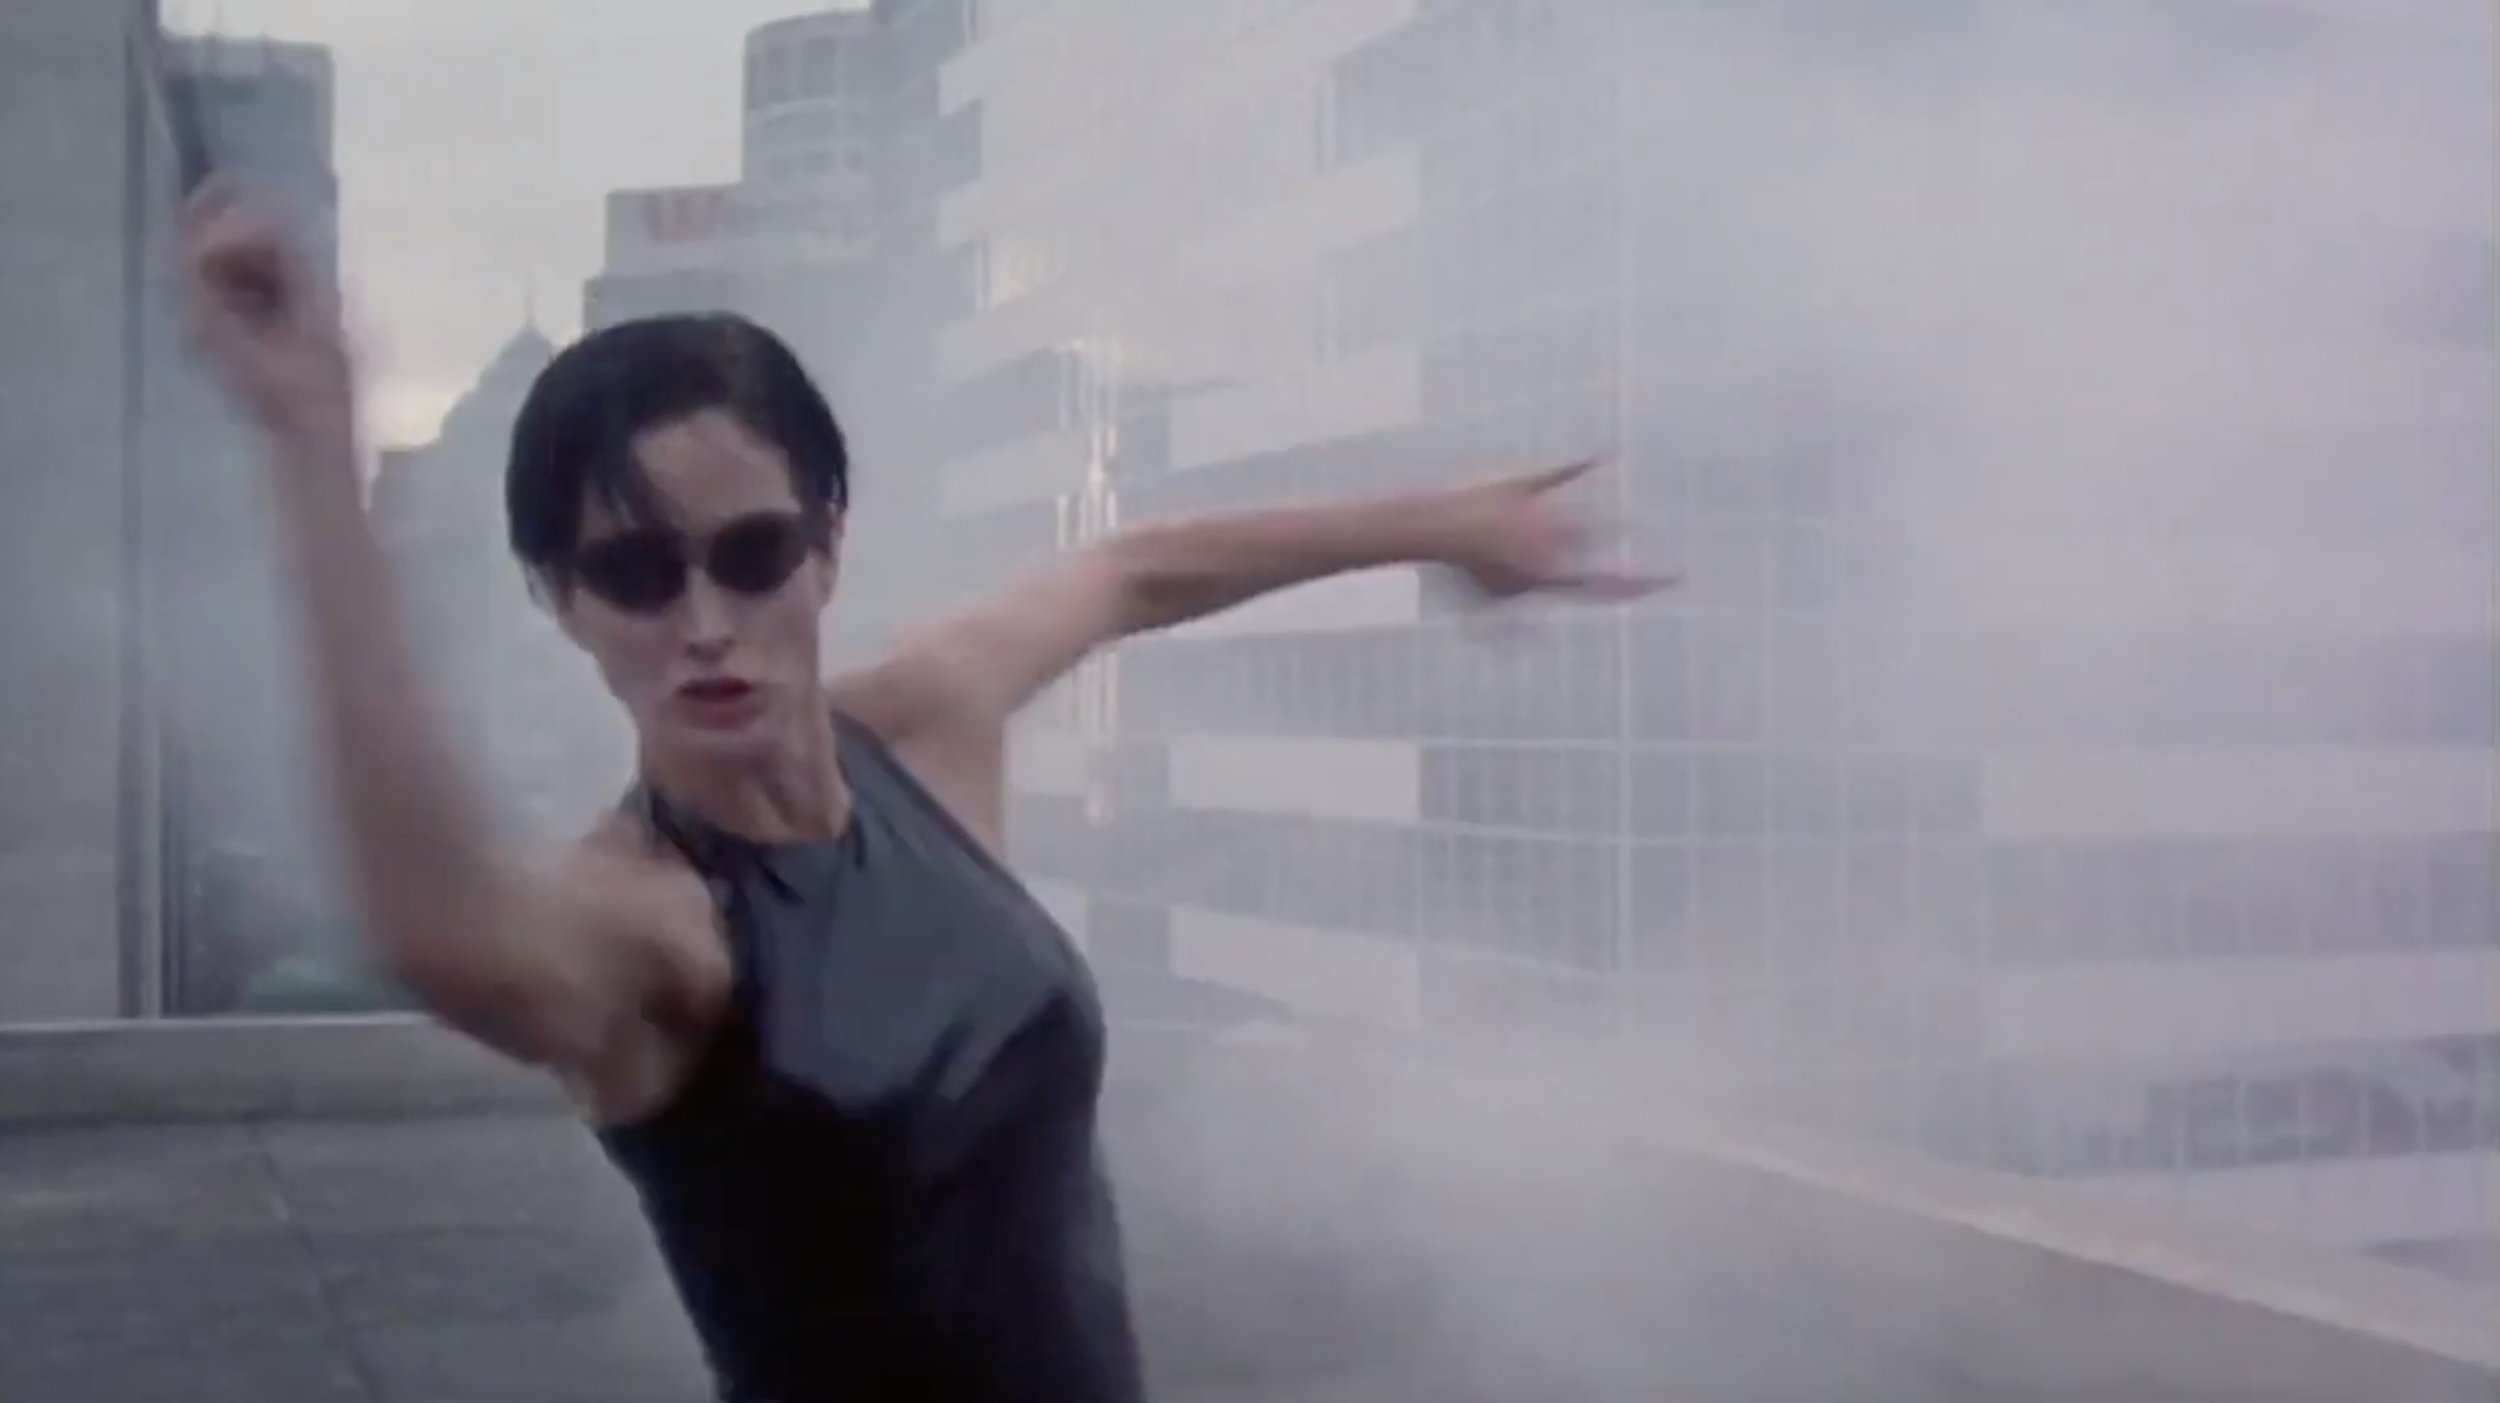
Punctuation
I often explain in my posts that lines of dialogue in a trailer are punctuated by music beats; these are the shots that are cut to those music beats. I've also seen these shots referred to as accents. They're just sprinkled in to add that occasional adrenaline boost to the trailer. These frequently overlap with the Action category, but in general tend to be used in smaller cuts.
They fit into three sub categories which I never actually named until now; I'm going to call them:
Anticipation
Slam
Explosion.
Anticipation shots come in all forms; they're what lead up to the bang, but not the bang itself. Maybe it's a plane flying into the camera, or a person about to kick a door open, or someone winding up a punch. These are often cut to sound effect "rises" or places in the music that I put yellow markers on.
The slam is any snappy action that is quickly resolved in the space of the shot. It could be a button press, gas pedal being slammed, a person making a 3-point landing on the ground, a shotgun shell being loaded, an eye blinking, a person smashing a glass etc.
The explosion is usually a literal explosion. So often in trailers there are anticipation or activation shots that are followed by an explosion. For example, a person throwing a punch, followed by an explosion.
Humor
Not all films or games are comedic, but you might run into a situation where you want a little joke or moment of levity in the trailer, so it’s good to gather visuals of things which are humorous, goofy, slapstick or funny in some way.

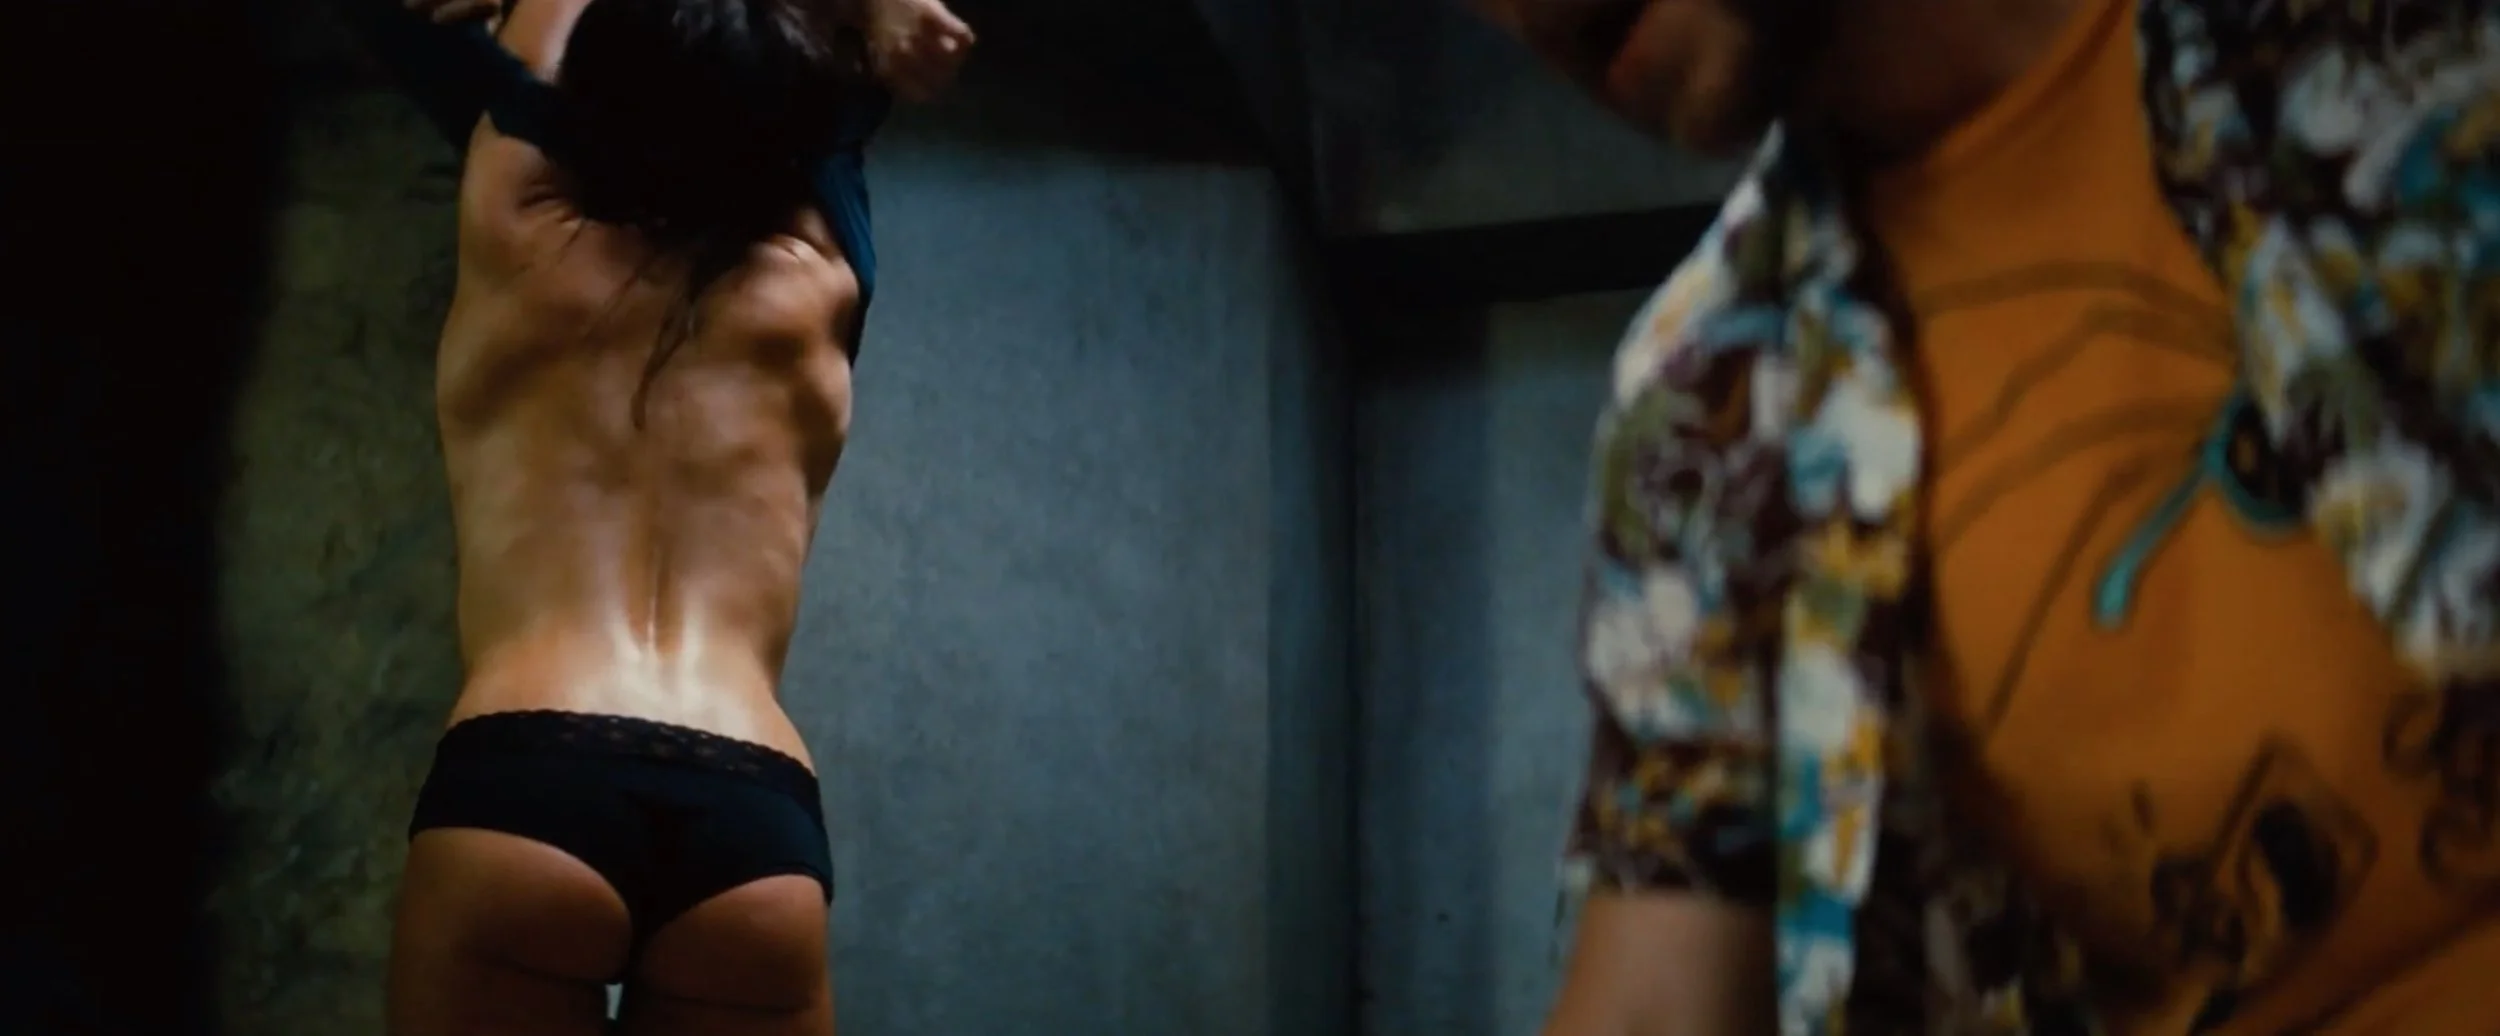
Sex
This is an EXTREMELY Hollywood thing to have a random shot or two of a scantily clad woman, a woman taking their shirt off, coming out of a pool, gyrating, or otherwise being sexy in front of a camera which lingers across her body. This is especially true in male power fantasy films like The Fast and the Furious series and Mission Impossible series. It’s pretty much an unspoken checkbox.
How you sort your visuals in your editing software is entirely up to you. I use:
Sequences
The benefit of this method is you can quickly play and skip through the footage; you can also load the sequence into the source monitor on Premiere Pro or Avid Media Composer, which makes it easy to cut visuals into a sequence.
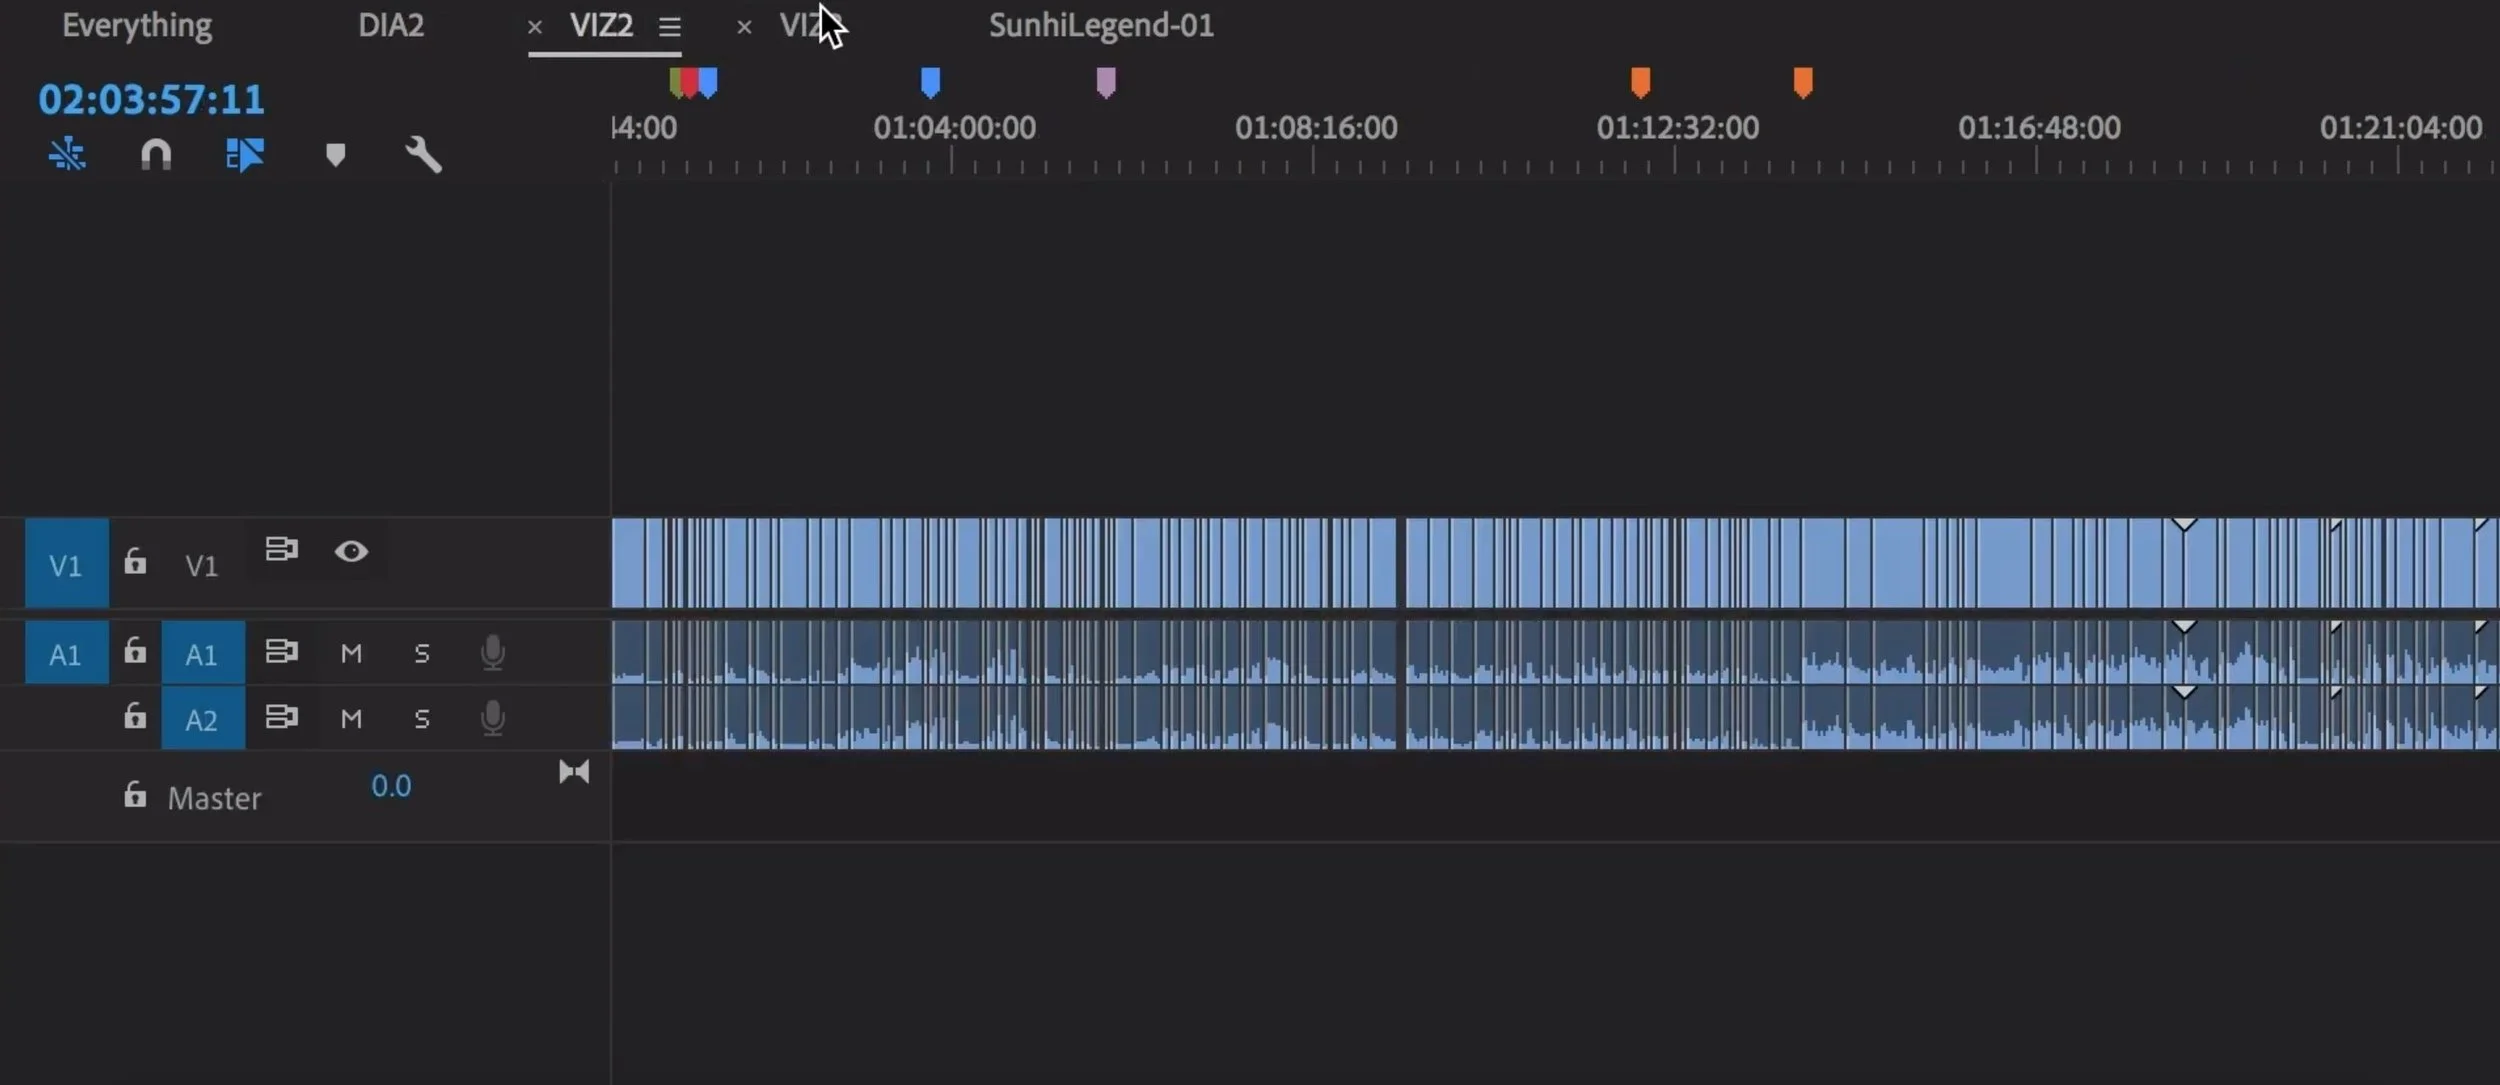
In Premiere Pro, you can "pancake" this sequence above your timeline for easy cut and pasting. Or load the sequence into the Source monitor, and display that sequence in a timeline. That setup allows you to select clips with in/out points, and use your Insert/Overwrite edit shortcuts to put it into the timeline.
The downside of this method is that there's no way to visually see your shots. Which is why you might want to
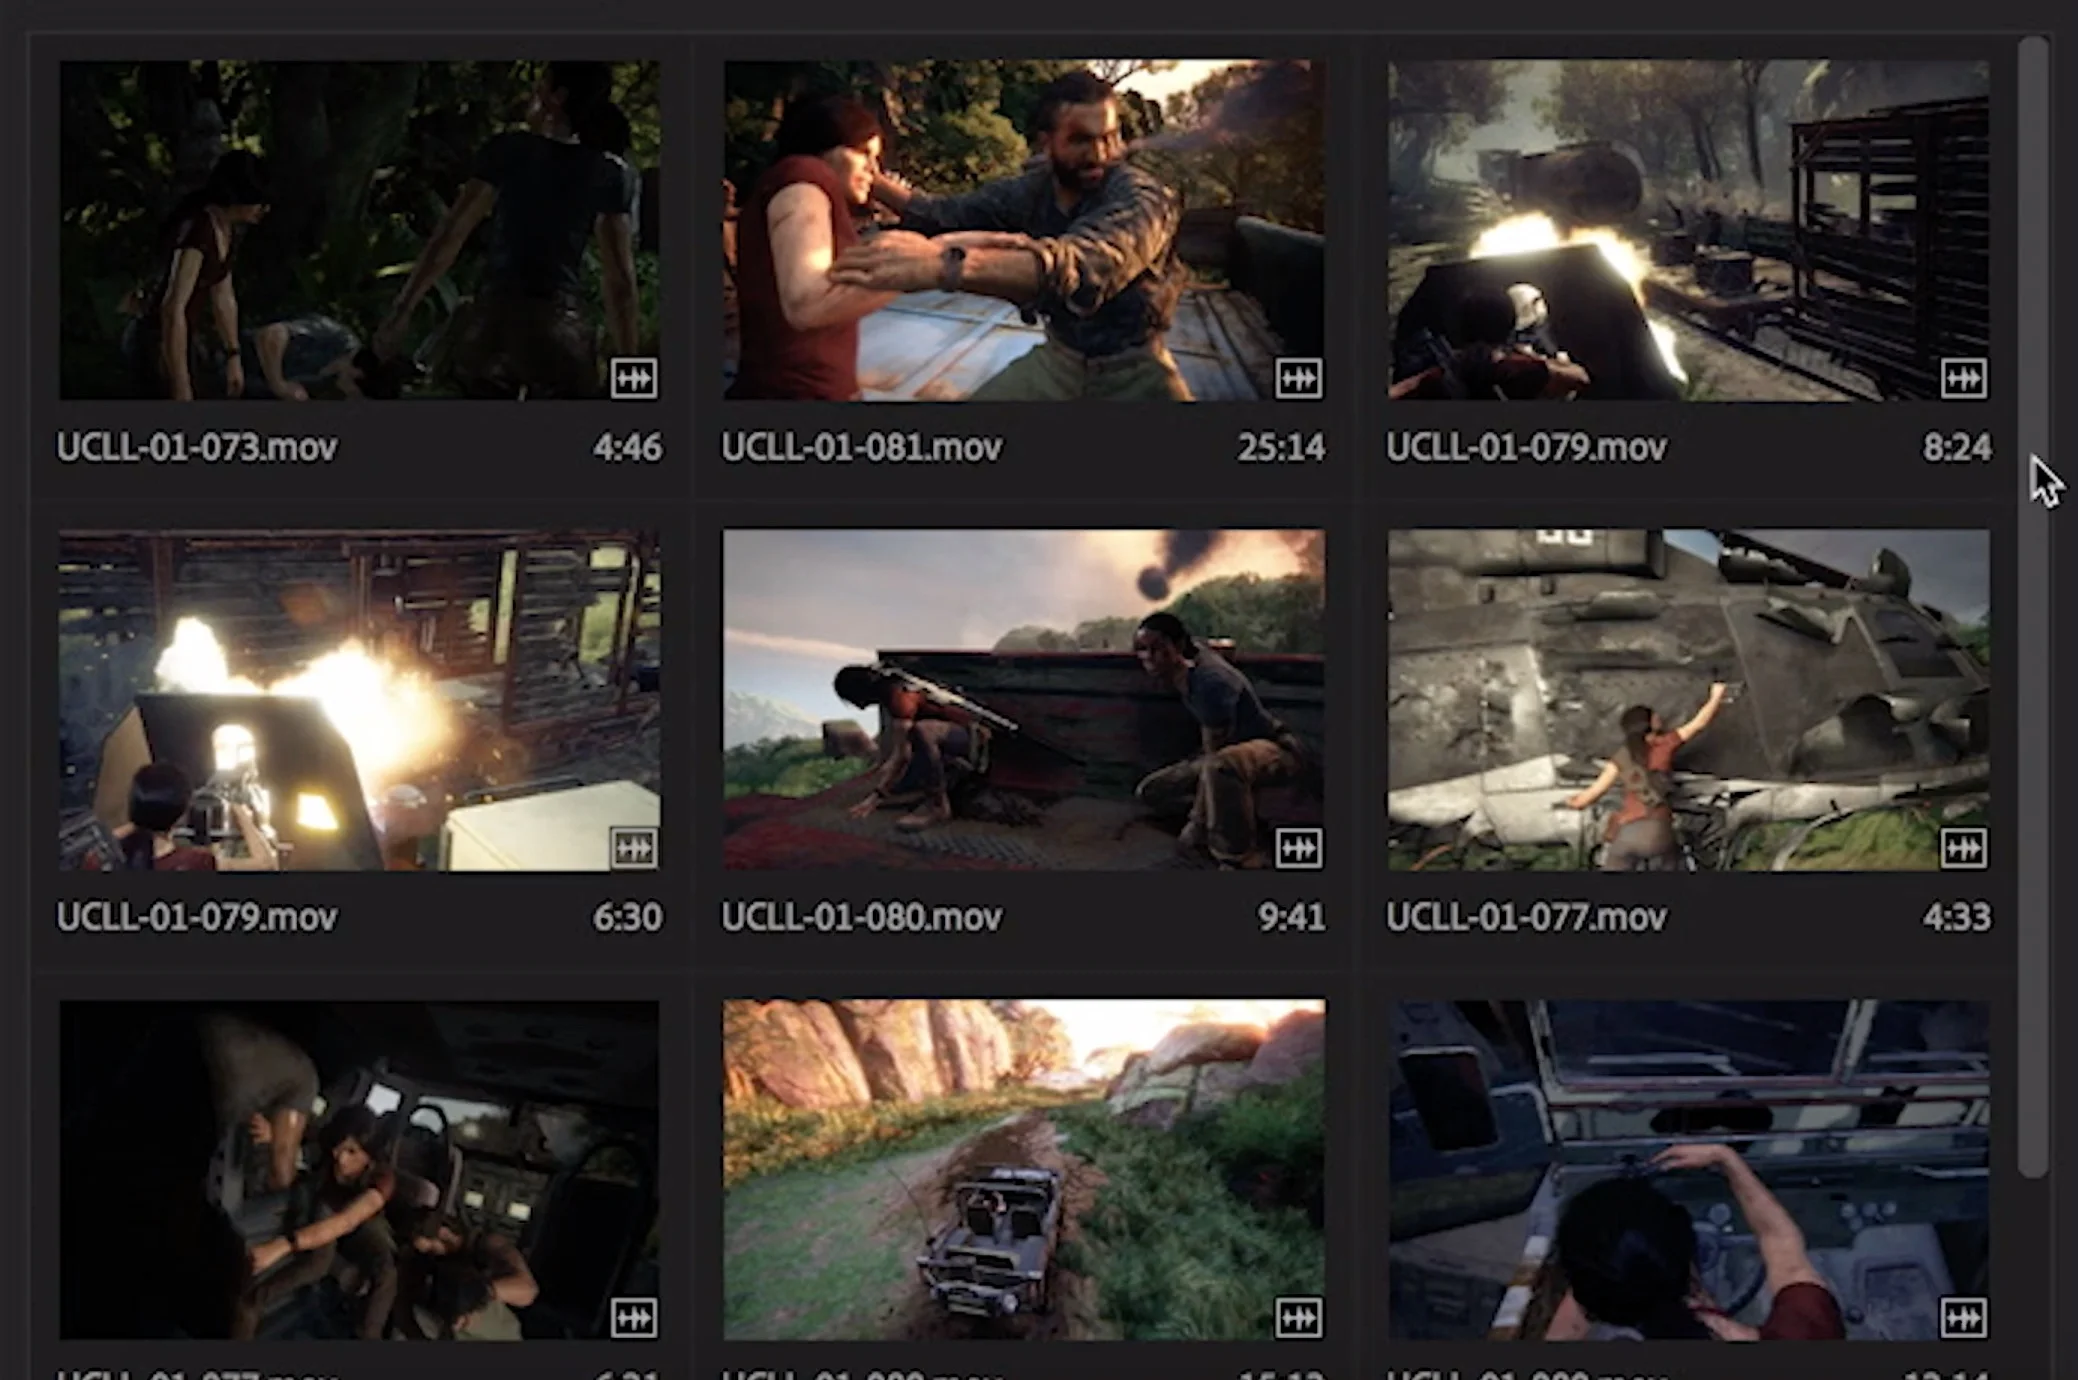
Sort visuals into bins
This is done by making subclips of the individual shots, and then putting them in a bin with thumbnail view turned on. This method is great for previewing your visuals (especially in Premiere Pro and Final Cut Pro X where you can "hover scrub"), but this requires a second monitor just so you have enough screen real estate to see the images.
Famed film editor Walter Murch has this sort of setup on the wall of his editing room when working on feature films. He'll have printed versions of the shots plastered on a wall so that he can see what he has at a glance.

PHEW! Now that your footage is all sorted comes the easy part, right? Haha, NOPE! Next step is the agony of infinite creative possibilities, but that's why you're making a trailer, right?