How to Make a Freecam or Marketing Camera for Game Trailers
A "marketing camera" or "freecam" is something game trailer makers use to get cinematic shots in debug builds of the game, but are impossible to get in the retail version. In most 3D games the camera is attached to the character and the player only has the power to move the camera closer, further, or orbit the player. Famously, Mario 64 turned Lakitu into a physical manifestation of this 3D camera by showing them "filming" Mario as he runs around the world.
Really good freecam options help us make great shots for trailers, B-roll, and animated GIFs. I discussed freecams in my first GDC talk about game capture, but I wanted to go in deeper since I've worked on many more games since.
This post is to help game developers know what to consider implementing into their games to aid trailer making, and for video editors to know to ask for (if the programmers are available to help). I do not know how difficult it is to add any of these features to games, so I will not presume to say "It's no problem, just add these!" but hopefully this will still help!
By the way, big thanks to the game capture folks who helped me with this post!

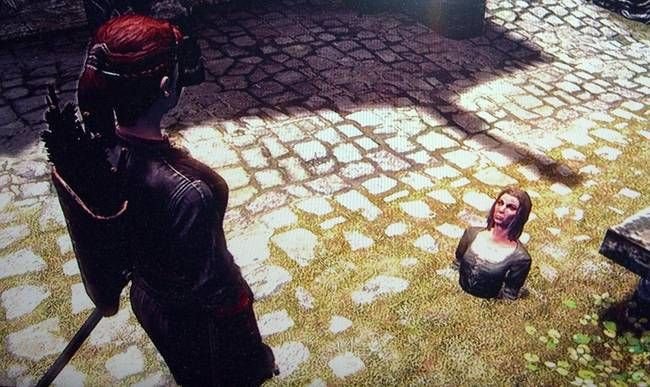
I choose to imagine all freecams look like this ^_^
The biggest challenge for freecam controls is making them look "less digital." For example, a lot of freecams by default will go from completely still to maximum speed at the touch of a thumbstick. This is because games aren't constrained by real life physics, the weight of a physical camera, or the strength of the camera operator. Therefore, a lot of the settings I recommend are designed to help the camera operator create movements that look more "real."
Even very normal things like orbiting the camera around a character creates camera motions which are basically impossible and look digital or "game-y." Think of it, how would it be possible for a real life camera to both move at the exact same speed as a person running down a street AND orbit around them in any direction, in a perfectly fixed distance? This disconnect between what we've grown up watching in films is what can make game footage look "cheap" or less cinematic.
Before diving deep into how to give more work to game developers, here are some analog solutions for better camera and character control.

Look at how cozy the thumbsticks look now, haha.
I recently discovered these "precision rings" at a Daiso store (if you search controller precision rings you can find them available online). They're like little scarves for your controller's thumbsticks. These help solve the problem of a thumbstick moving too quickly and thus creating unnatural camera movements. By adding resistance to the thumbsticks, movements are less jerky, and you have to exert more effort to reach maximum output. Without them I'd have to strain my thumbs to sit in the space between 0 to 100 (which can be very difficult if the camera controls are very sensitive). I wish I knew about this years ago!
Another solution is to use longer thumbsticks like the ones that come with the Xbox Elite Controllers. This a preferred method of my friend Alfredo Barraza who is currently Capture Supervisor at Riot Games. Longer thumbsticks means you have to move them further to reach the max range, and therefore it's easier to make less jerky camera moves.
I've also heard varying degrees of success with people using rubber bands on their controllers' thumbsticks to add resistance. Fun fact: one method for smooth panning shots in real life filmmaking is [o loop a rubber band around the tripod's handle and pull it that way so your body's vibrations don't travel go directly into the camera.

Longer thumbsticks offer a wider range of motion than short ones!
Gamepad vs keyboard
Gamepads are for the most part the ideal way to capture, because the thumbsticks and triggers allow for analog control, which means there's a range of motion available to the operator for slight movements up to big ones. On a keyboard, keys are either on or off. And mouse movements are prone to the jittery vibrations of a person's hand.
On gamepad the "standard" first person controls tend to work best for me. Left thumbstick does forward/backward and left/right movements. Right thumbstick is for looking left/right/up/down. I also prefer when the Right-trigger (RT) makes the camera ascend on the Y-axis, and the Left-trigger (LT) makes it descent on the Y-axis. Those are the most important options, but it's also nice to change the field-of-view (FoV) using the left and right bumpers (LB & RB)
I don't do much keyboard camera control, but if you have a good solution for that or prefer it please email me with your tips!
Sensitivity Settings
I don't yet fully understand what makes some freecam controls "feel" good, but this is my attempt to articulate the various settings which help me get there.
Camera sensitivity/speed: This is the maximum speed a camera moves when the thumbstick reaches its maximum range of movement. At low numbers, the camera moves very slowly, and at high numbers the camera very very fast. In most cases we do NOT want the camera to move quickly because it's difficult to control at high speed and doesn't look cinematic. Whenever there's a sensitivity slider in a game that goes from 0 to 100 I always end up putting it somewhere between 0-50 (Note to programmers: I also run into debug options where the range for an option is 0-1, which forces me to input numbers like 0.005. It's much easier when it's a wider range of numbers)
Camera interpolation: This option controls how gradually the camera gets up to speed, and slows down at the end. Another way to think of it is camera "easing." This is great for smoother camera movements rather than jerky ones. At high levels of interpolation, when you press the thumbstick, the camera gradually gets up to maximum speed. At low levels of interpolation, it starts moving almost instantaneously. It's kind of like those fun soft-close drawers which are designed to prevent slamming.
This is good not only for the beginning and end of a camera move, but also for during a camera move. Say I'm moving a freecam down the center of a road and then want to smoothly rotate to the left to look at a sign and then move towards the sign. In that move I have to press forward, rotate to the left, and then stop rotating to the left once I'm facing the sign.
Dead Zone size: This is more personal preference for the camera operator, but this measures how far the thumbstick has to move before the game receives any input. Here's a good video explaining it, but essentially, the bigger the dead zone, the bigger the thumbstick movement required to move the camera. If the dead zone is very small, the slightest touch on the thumbstick will make the camera move.
These settings are also important for first person games where the player is essentially the camera. In games, giving the player responsive controls is important so they don't feel sluggish, but as a capture artist I often wish there was more "easing" when I turn to look at something and then focus on it. There's usually sensitivity settings in the menu, but how gradually the first person camera moves when looking around is usually just a set number.

A lot of shooter games like Fortnite have things like dead zone settings. Interpolation is something which is only really for people who want to make game footage look cool, not play the game well.
Axis locking
Another challenge with freecams is keeping things "level." A camera held by a person walking across the ground will always be constrained by gravity, and the reach of the person's arms. Now imagine a camera that has none of those constraints, where whatever direction you're facing is where it will move when you press forward. That means when I look up to the top of a house and press forward, the camera will shoot straight to the top of the house. This couldn't happen in real life without maybe a drone or a zip line.
But what if I want a shot which looks at a house from the sidewalk, and just pushes towards the front door? If the camera isn't a perfectly level 90°, when I press forward, the camera will gradually move slightly upward or downward until it's above the door or falling into the ground. It's pretty easy to correct for left/right directions, but correcting for up/down angles is very difficult. In my experience it's darn nearly impossible to orient the freecam to get that perfect forward motion without some drifting up or down.
So the answer is: "Axis locking." (This is actually a new concept for me which I need to further ask my fellow capture artists, at which point I'll update this post) This is an option that basically gives "legs" to the camera so that it will always move parallel to the ground. Imagine making the camera person shorter or much taller. They're still free to look up/down/left/right but whenever they move they're going to be at a fixed position relative to the ground.
So, an option for the freecam to be completely free, or to lock the height of the camera operator is something great to have in third person games, first person games, and also 3D isometric games where the camera flies over the world from a fixed height.
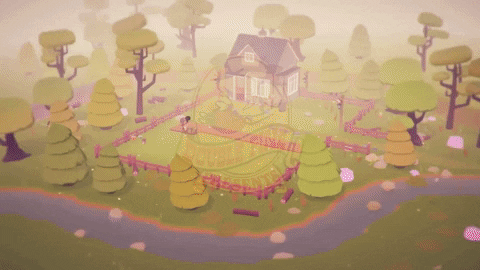
Real life photo of freecam operator who flew through the floor
Second Controller
A common debug option for 3D games is the ability to connect a second controller to act as the camera operator. One person plays the game, the other films them as they play. This helps create more cinematic shots, because in this setup, the camera operator and "actor" are two separate entities rather than something perfectly tethered together. It also means the camera operator and players only have to worry about their one job rather than two.
For multiplayer games this is a great setup because everyone is on separate computers. For single player games with only one monitor, a 2nd controller moving the camera around can create problems. For example: in most third person games, pressing "LEFT" on the left thumbstick will make the character move to the direction that is on the left of the monitor (even if it's not the character's left). But in some cases, "LEFT" for the character means something different depending on the camera's relative position and angle.
I've run into cases where suddenly the player character's sense of direction are all thrown out of wack, and left on the thumbstick can mean moving left, right, up, down, or something in between. I don't know enough about game programming to know how this works, but if you do, this is something to keep in mind if you're designing a system where two people are looking at one monitor, and both of their controls need to make sense to them.
I captured this shot by pressing forward on the camera controlled by the keyboard while I simultaneously controlled the player using a gamepad.
Recording Camera Movement
The problem with the 2nd controller setup is of course that it requires two people: one playing the game and another operating the camera. I've seen and used a few ways around this which allow one person to be both operator and player.
Option #1: One tremendously helpful option I've had is the ability to pre-record a camera movement. In this setup, I press a hotkey to start recording a camera movement, and then press another to play it back. This works great for when I want to set a camera move, and then control the character in realtime.
For example, I move the camera to a closeup position, press record, then move to a wide shot, and press stop. Then when I'm ready to capture the shot, I playback the camera move, and use my controller to move the character to perform for the camera.
Option #2: The other option I've used is for games which can record "replays." I don't know how this works in the code, but for me it's essentially a recording of everything I did in a particular level (but it's the game running in realtime). I was able to use these for Spelunky 2 and Katana ZERO (though since those are 2D games I didn't need to use them for special camera moves). In this setup, instead of playing back the camera move, I play back the character, and then control the camera in realtime. Again, I have no clue how difficult it is to create this sort of "replay" system, but it's a tremendously useful tool to have!
Option #3: The last and most impressive one I've seen is the Theater Mode which shipped with the retail version of Call of Duty: Black Ops 2. The game records a "replay" of a match and then in a timeline you can add keyframes which create a path which the camera follows. I feel this must've been a COLOSSAL amount of work to implement, but I just wanted to show an example of something which makes capture artists drool. Big thanks to Guillaume Peronnin for showing me this!

Figures the game with the best cinematic camera options are the big budget shooty ones :P
Debug UI for freecam
As for freecam debug UI, I find it very handy to have a pop up screen with all the slider settings for each option. If you want to go the extra mile, I sometimes wish there were individual sensitivity/interpolation sliders for movement, rotation, and upward/downward motion.
For example:
Camera sensitivity
Movement (0-100)
Rotation (0-100)
Up/Down (0-100)
Camera interpolation
Movement (0-100)
Rotation (0-100
Up/Down (0-100)
That said, one setting for sensitivity and interpolation can also work just fine, because oftentimes more dextrous thumbs are all that's needed.
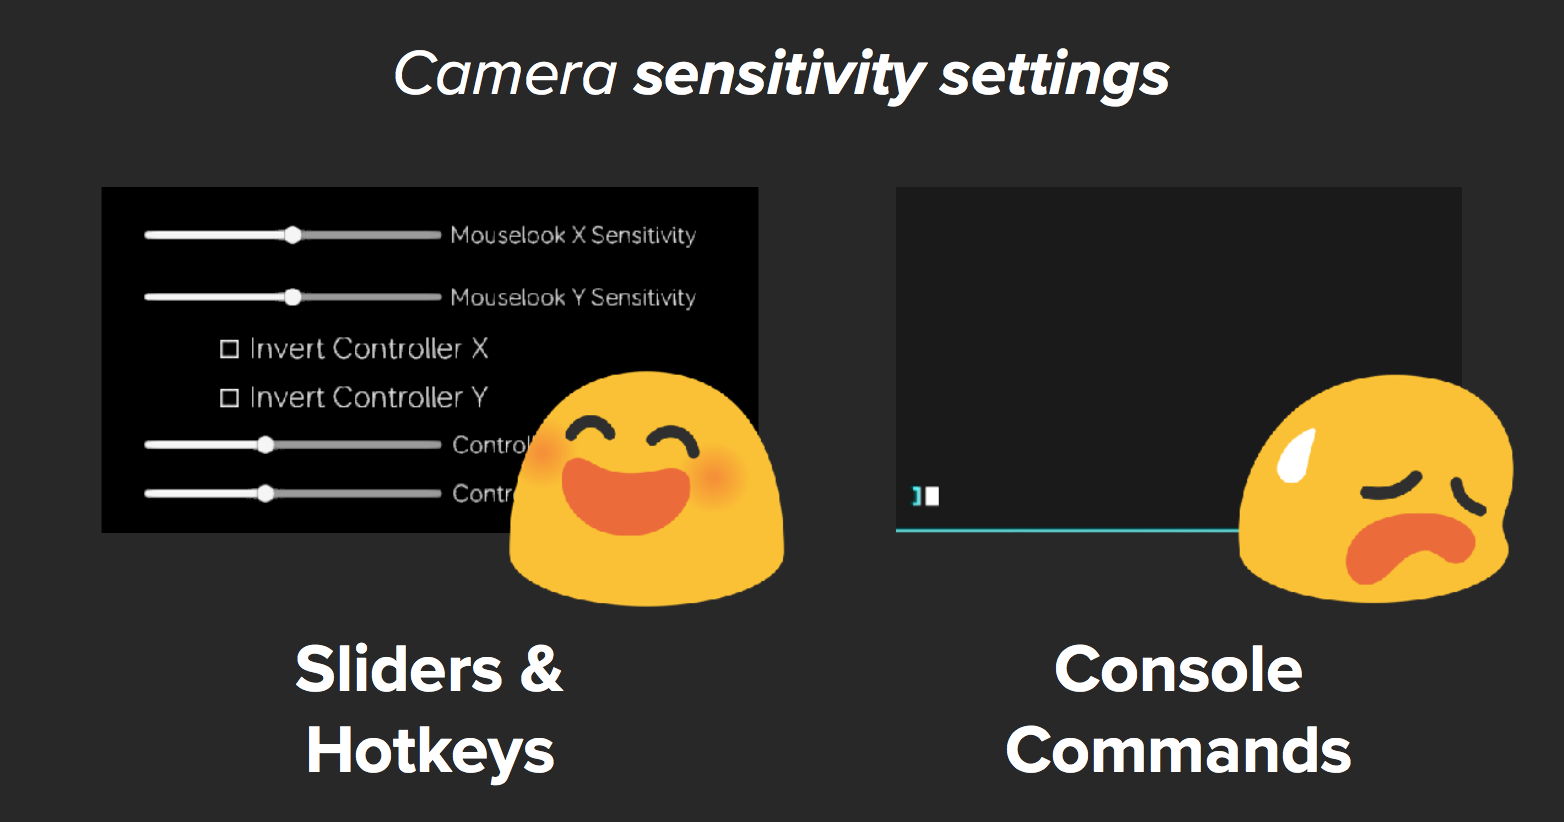
Console commands are fine, but not as easy as sliders
This post went on much longer than I anticipated, and I think there's still a lot of stuff I could've covered (which I'll update this post with later). I didn't even cover changing the "roll" of a shot which is if you imagine tilting your head left and right or an airplane doing a barrel roll. Or there are more camera options like depth of field, focus, and SO many more to make amazing shots.
If you're a developer, capture artist, or anyone else who has insight into anything around this topic please share your tips and tricks so I can make this post better and more people can benefit from it. I also have a pie-in-the-sky idea for a freecam for the Unity Asset store or Unreal, but I have no clue if this is even feasible. But I'd love if someday I could just tell game devs "Add this!" and then always have all the controls I need :o